 Save
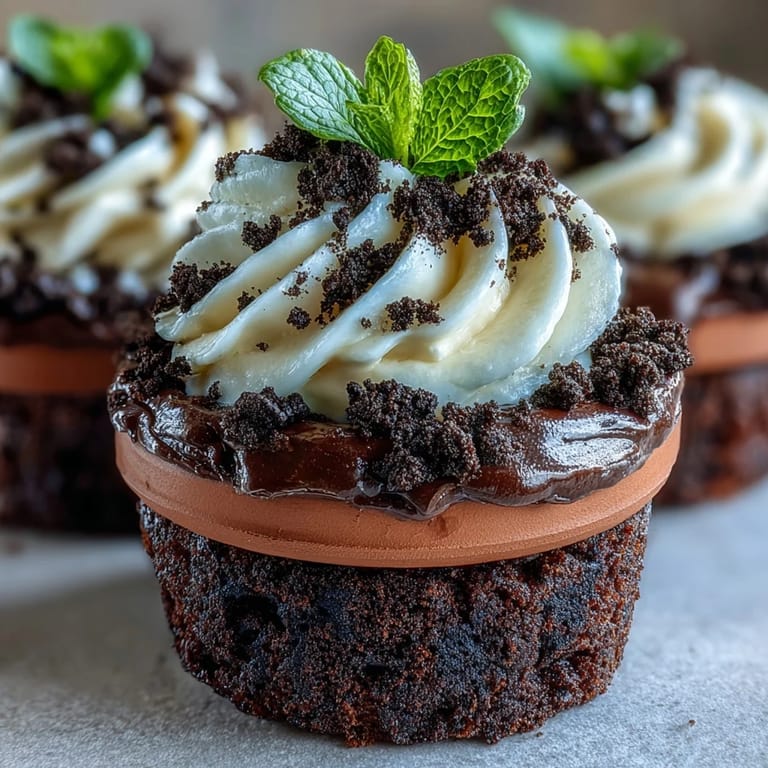
Save An unexpected creative burst hit me the evening before Mother's Day as I caught sight of a row of unused mini flower pots near my kitchen window. I'd been looking for a playful way to celebrate my mom—something charming, but still irresistibly chocolatey. The idea of serving brownies disguised as tiny edible gardens just made me grin. The delightful crunch of Oreo "dirt," a cloud of whipped cream, and edible blooms sounded like the perfect, whimsical tribute for the day. As I gathered my supplies, I couldn't help but imagine her amused smile at the transformation of a classic dessert into something so cheerfully unexpected.
Last spring, my kitchen filled with the aroma of melting butter as my youngest helped me measure out cocoa powder—her little hands barely big enough for the scoop. She lost herself in swirling the brownie batter while I showed her how to gently tuck in bright pansies and wisps of mint on top of the finished pots. My mom video chatted in, laughing at our mess, and we all marveled at how something so simple could look so joyful. The project turned snack time into a mini celebration. Everyone delighted in choosing their own "flower bed" from the fridge.
Ingredients
- Unsalted butter: The foundation of fudgy brownies, and melting it gently makes them extra dense and rich.
- Granulated sugar: Helps the top crackle and brings out deep cocoa flavors—dissolve it well into the warm butter.
- Eggs: I find room temperature eggs blend in more smoothly for a silkier batter.
- All-purpose flour: Only a little is needed; overmixing can make the brownies dry, so fold gently.
- Unsweetened cocoa powder: Go for a high-quality, dark cocoa for intense chocolate flavor—it truly shows here.
- Baking powder: Lifts the brownies just enough without turning them cakey.
- Salt: Just a pinch woke up the chocolatey depth in my trial runs.
- Vanilla extract: A splash gives the whole dessert warmth and complexity.
- Oreo cookies: Don't be shy about smashing them with a rolling pin—the crumblier, the better for "soil."
- Heavy cream: I chill my bowl and beaters first so the whipped cream peaks instantly.
- Powdered sugar: A quick sift keeps the cream silky-smooth and lump free.
- Edible flowers or gummies: These are what make the whole look, so pick the brightest and make sure they're food-safe.
- Fresh mint leaves: Optional, but fresh mint always makes these pots smell like a spring garden.
Tired of Takeout? 🥡
Get 10 meals you can make faster than delivery arrives. Seriously.
One email. No spam. Unsubscribe anytime.
Instructions
- Get the pots ready:
- Preheat your oven to 175°C (350°F) and line the bottoms of your mini flower pots with parchment if you're using them. If not, stick with a lined baking tray and cut the brownies to fit later.
- Melt and mix:
- Melt butter gently, then whisk in the sugar and vanilla—the sugar dissolving gives a caramel edge to the brownies.
- Eggs in:
- Crack eggs in, one at a time, whisking until the mix turns glossy and thick.
- Dry meets wet:
- Sift flour, cocoa, baking powder, and salt together, then fold this into the chocolatey mix just till it's streak-free.
- Bake the brownie layer:
- Divide the batter among your cleaned pots (about 200 ml each), or spread into your tray evenly.
- Into the oven:
- Bake 20-25 minutes, until a toothpick comes out with a few moist crumbs. Let them cool completely while you prep the dirt and cream.
- Smash the dirt:
- Crush Oreos, filling and all, in a food processor or a sealed bag with a rolling pin until they look like real soil.
- Whip it up:
- Beat heavy cream and powdered sugar to stiff peaks—cold equipment will help it fluff faster and keep its shape.
- Assemble:
- If you baked in a tray, cut brownie circles to fit the pots and nestle them in.
- Layering fun:
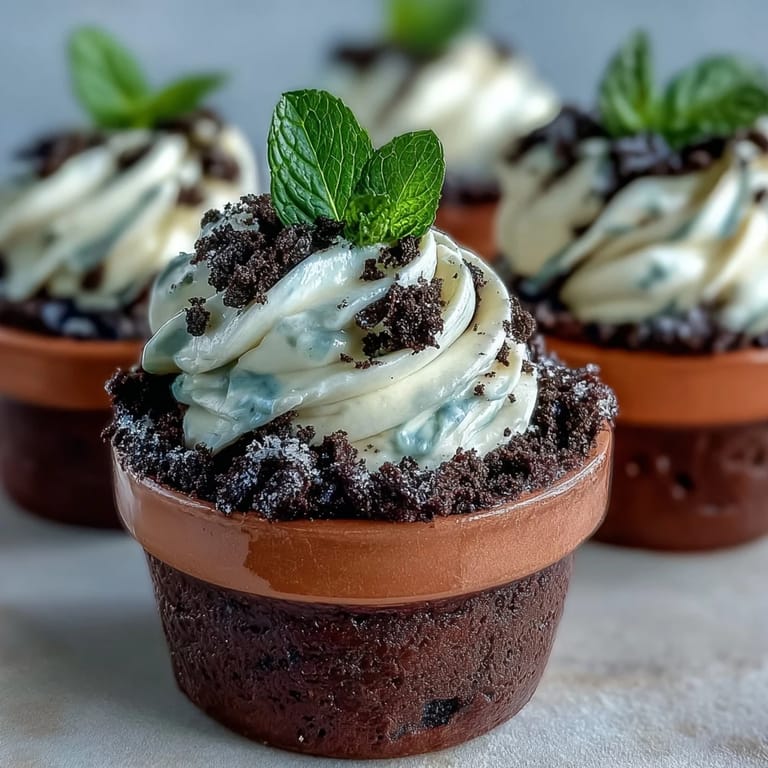
- Spread each brownie with a good dollop of whipped cream and bury it under a generous mound of Oreo crumbs.
- Floral finish:
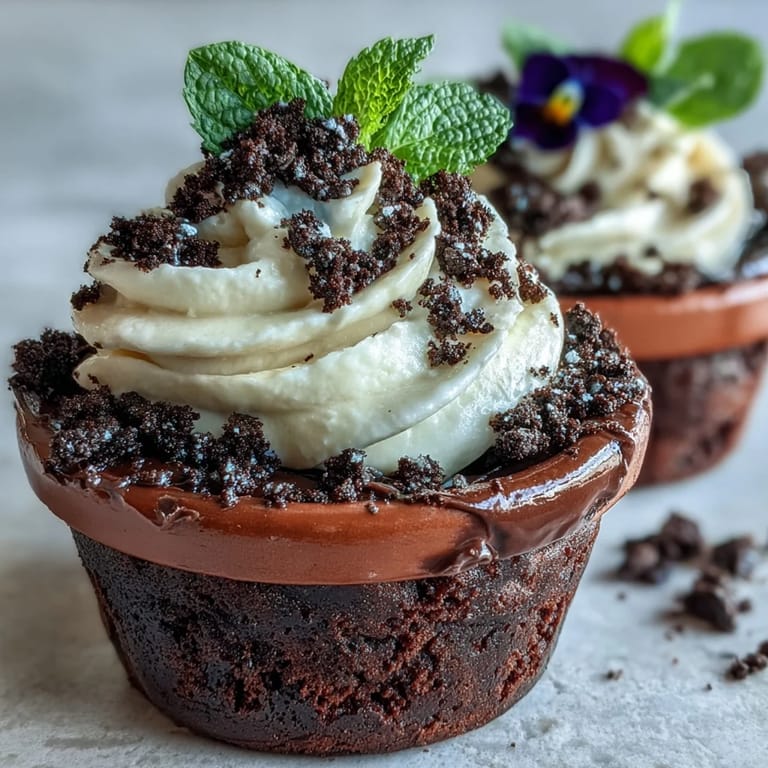
- Add edible flowers, playful gummies, and mint leaves to turn each pot into a mini bouquet.
- Chill time:
- Let your finished pots hang out in the fridge until ready to amaze your guests.
 Save
Save  Save
Save When my mom took her first bite, she burst out laughing at the lifelike "soil" and delicate petals. Suddenly, dessert became a playful garden party at our kitchen table—exactly the cheerful memory I’d hoped to create.
Choosing and Handling Edible Flowers
Edible flowers are the soul of this dessert, so choose blooms like pansies, violets, or nasturtiums—they hold up beautifully and taste subtly sweet or peppery. Always wash them gently in cold water to remove any dust, then pat dry on a paper towel. Never use flowers from florists or gardens sprayed with chemicals, and if in doubt, colorful gummies stand in just fine. I like to let guests pick their own flowers before decorating their pots—it adds an interactive touch.
Making the Oreo Dirt Extra Realistic
Texture is everything for convincing "dirt"—Oreo crumbs with some larger pieces mixed in mimic true garden soil. For extra flavor, I sometimes toss in a few mini chocolate chips or even a hint of espresso powder into the crushed Oreos. Crushing by hand gives chunkier bits, while a food processor makes the finest sand—try both for the most convincing look. Kids love turning this step into a mini demolition derby on the countertop.
Kitchen Shortcuts for Stress-Free Assembly
Using a boxed brownie mix works brilliantly on busy days—just add an extra splash of vanilla and a handful of chocolate chips to make it your own. Whipping cream from scratch only takes a few minutes, but in a real pinch, the canned stuff works, especially if you’re focusing on decorating with little helpers. To prepare ahead, keep undecorated pots in the fridge and finish with whipped cream and toppings right before serving for maximum freshness.
- If you're worried about unmolding, generous parchment circles make all the difference.
- Let everyone design their own "garden" for a fun family activity.
- Don't forget to snap a photo before the first bite—these never last!
 Save
Save  Save
Save May your Mother’s Day be filled with sweetness and lots of laughter, whether you serve these brownies in flower pots or just on a plate. Sometimes, the tastiest memories are also the most playful ones.
Recipe FAQs
- → Can I bake the brownies in a baking tray instead of flower pots?
Yes. Bake in a lined tray, cool completely, then cut rounds or squares to fit mini pots. Lining the tray or parchment prevents sticking and makes cutting neater.
- → How do I make the Oreo 'dirt' texture?
Crush whole Oreos in a food processor until fine, or place them in a sealed bag and smash with a rolling pin. Keep some slightly coarser crumbs for added texture if desired.
- → How do I keep the whipped cream stable on top?
Use very cold heavy cream and chill your mixing bowl. Whip to stiff peaks with powdered sugar. For extra hold, fold in a small amount of softened cream cheese or use a stabilizer like gelatin.
- → Are edible flowers safe to use and how should I prepare them?
Use flowers labeled food-safe (violets, pansies, nasturtiums). Rinse gently, pat dry, and remove any bitter stems. Purchase from reputable suppliers or farmer's markets to ensure they are grown for culinary use.
- → Can I prepare components ahead of time?
Yes. Brownies and Oreo crumbs can be made a day ahead and stored airtight. Whip the cream just before assembly for best texture, or stabilize it if making earlier.
- → How should I store assembled flower pot brownies?
Keep assembled pots refrigerated, covered, and consume within 24–48 hours for best texture. Add fresh flowers just before serving to maintain appearance and freshness.