 Save
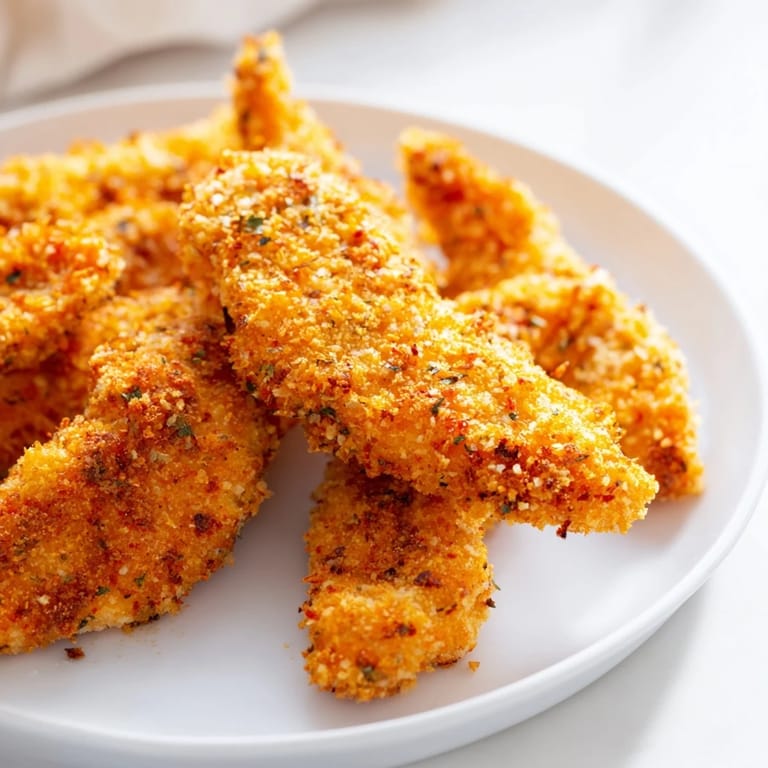
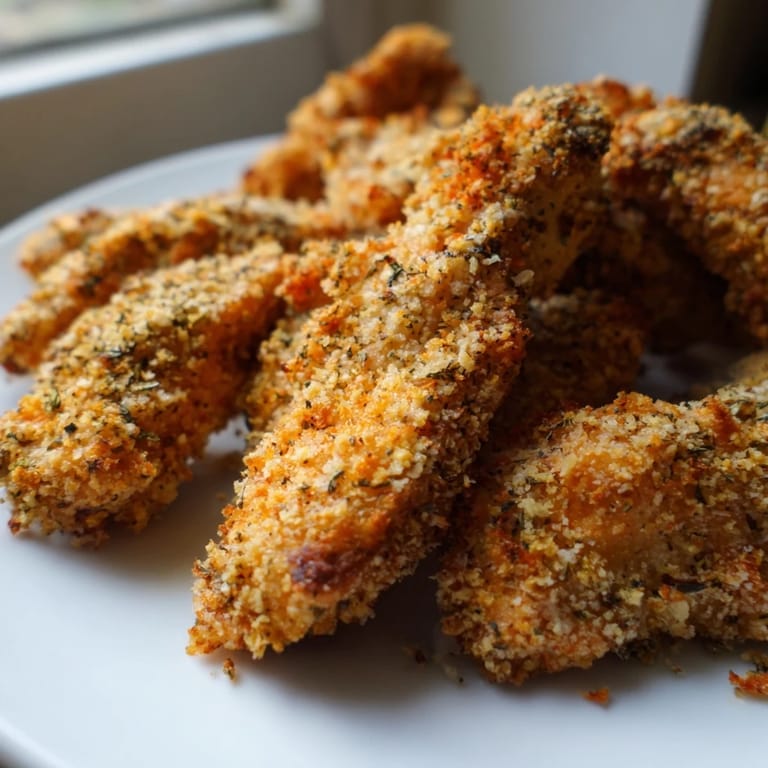
Save The oven timer went off just as my neighbor knocked on the door, and I watched her eyes widen at the golden chicken strips cooling on the counter. She asked if I'd ordered takeout, which made me laugh because these were baked, not fried, and tasted every bit as satisfying. That moment convinced me this recipe was worth keeping. Sometimes the best compliment is someone mistaking your healthy dinner for indulgence.
I started making these on weeknights when I needed something fast but wanted my family to feel like dinner mattered. My youngest would stand by the oven, watching the breadcrumbs turn golden, asking every two minutes if they were ready yet. That eager anticipation became part of our routine. Now, even when life gets hectic, this recipe reminds me that good food doesn't have to be complicated.
Ingredients
- Boneless, skinless chicken breasts or tenders (500 g): I prefer tenders because they cook evenly and are already strip-sized, but breasts work beautifully if you slice them uniformly.
- Salt (1/2 tsp) and black pepper (1/4 tsp): Simple seasoning on the chicken itself ensures flavor in every bite, not just the crust.
- All-purpose flour (100 g): This first dredge helps the egg mixture cling, creating a foundation for the panko to stick.
- Large eggs (2) and mayonnaise (2 tbsp): The mayo adds richness and helps the coating adhere better than eggs alone, I learned this after a few batches slid off.
- Panko breadcrumbs (120 g): Their airy texture crisps up beautifully in the oven, far better than regular breadcrumbs ever did for me.
- Dried Italian herbs (1 1/2 tsp): A blend of oregano, thyme, and basil brings warmth and familiarity without overpowering the chicken.
- Garlic powder (1/2 tsp) and smoked paprika (1/2 tsp): These add depth and a hint of smokiness that makes people ask what your secret is.
- Cayenne pepper (1/4 tsp, optional): Just a pinch gives a gentle kick, I skip it when kids are eating but love it for myself.
- Olive oil (2 tbsp): A light drizzle or spray encourages browning and prevents dry spots on the crust.
Tired of Takeout? 🥡
Get 10 meals you can make faster than delivery arrives. Seriously.
One email. No spam. Unsubscribe anytime.
Instructions
- Prep the oven and pan:
- Preheat your oven to 220°C (425°F) and line a baking sheet with parchment paper, or better yet, set a wire rack on top for air circulation. The rack was a game changer for me, it keeps the bottoms crispy instead of soggy.
- Prepare the chicken:
- Pat the chicken completely dry with paper towels, then slice into strips about 2 cm wide so they cook at the same rate. Season both sides with salt and pepper, this step seems small but makes a big difference.
- Set up your breading station:
- Arrange three shallow bowls in a row: flour in the first, eggs whisked with mayonnaise in the second, and panko mixed with herbs, garlic powder, paprika, and cayenne in the third. I like to use one hand for wet and one for dry to avoid clumpy fingers.
- Coat the chicken:
- Dredge each strip in flour and shake off the excess, dip it into the egg mixture until fully coated, then press it into the panko blend, turning to cover every surface. The pressing motion really helps the crumbs stick.
- Arrange and oil:
- Place the coated strips on your prepared baking sheet, leaving a little space between each one. Drizzle or spray them lightly with olive oil, this encourages that golden, crispy finish.
- Bake and flip:
- Bake for 18 to 22 minutes, flipping the strips halfway through so both sides get evenly golden. Check that the internal temperature reaches 74°C (165°F) to ensure they are fully cooked.
- Rest before serving:
- Let the strips cool on the pan for 2 to 3 minutes before transferring them to a plate. This short rest helps the crust firm up and stay intact when you pick them up.
 Save
Save One evening I served these with a variety of dipping sauces, and my guests spent half the meal debating which one was best. Watching everyone laugh and reach for seconds reminded me that food brings people together in the simplest, happiest ways. These chicken strips have become my go-to whenever I want to create that warm, easy atmosphere.
Serving Suggestions
I love pairing these strips with honey mustard for sweetness, ranch for creaminess, or spicy sriracha mayo when I want a little heat. A crisp green salad or roasted vegetables on the side balances the richness beautifully. For drinks, a light Sauvignon Blanc or a cold lager complements the herbed crust without competing with it.
Customizing the Recipe
For a gluten-free version, swap in gluten-free panko and flour, the texture stays just as satisfying. Adding a handful of grated Parmesan to the panko mixture gives a salty, umami boost that my family adores. If you prefer a tangier coating, use Greek yogurt instead of mayonnaise, it lightens things up without sacrificing flavor.
Storage and Reheating
Leftovers keep well in an airtight container in the fridge for up to three days, though they rarely last that long in my house. To reheat, place them on a wire rack in a 200°C (400°F) oven for about 8 minutes, this revives the crispiness far better than a microwave. You can also freeze the uncooked breaded strips on a tray, then transfer them to a freezer bag and bake straight from frozen, adding a few extra minutes to the cook time.
- Always store cooled strips in a single layer to prevent sogginess.
- Reheat in the oven, not the microwave, to maintain crunch.
- Label frozen strips with the date so you use them within two months for best quality.
 Save
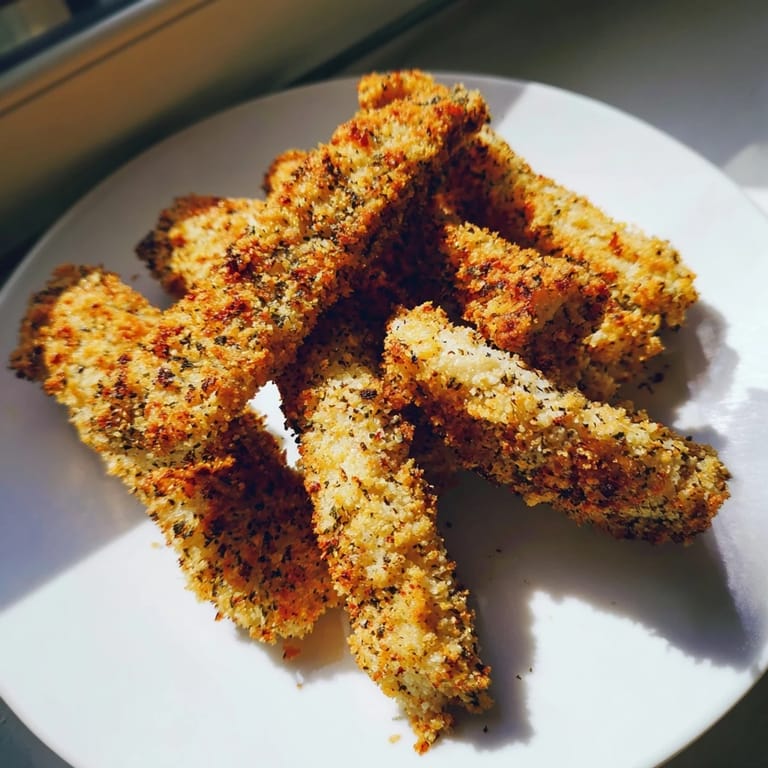
Save These crispy panko chicken strips have earned a permanent spot in my weekly rotation, and I hope they bring the same joy to your table. There is something deeply satisfying about pulling a pan of golden, homemade goodness out of the oven and knowing everyone will love it.
Recipe FAQs
- → How do I achieve maximum crispiness without deep frying?
Use a wire rack on your baking sheet to allow air circulation beneath the chicken. Lightly spray or drizzle olive oil over the coated strips before baking. Flip halfway through cooking to ensure both sides brown evenly. Cool for 2-3 minutes after baking to allow the coating to set and crisp up further.
- → Can I prepare these ahead of time?
Yes, you can bread the chicken strips and refrigerate them for up to 24 hours before baking. Place breaded strips on a parchment-lined tray, cover loosely, and store in the fridge. Bake directly from cold, adding 2-3 minutes to the cooking time if needed.
- → What's the best way to check if the chicken is fully cooked?
Use an instant-read meat thermometer inserted into the thickest part of a strip. The internal temperature should reach 74°C (165°F). The coating will also be deep golden brown when fully cooked. Avoid cutting into the chicken while cooking, as this releases juices.
- → How can I make this gluten-free?
Simply substitute all-purpose flour and regular panko with certified gluten-free alternatives. Most major brands offer gluten-free panko that delivers the same crispy texture. Verify that your mayonnaise or Greek yogurt is also certified gluten-free to avoid cross-contamination.
- → What are some flavor variations I can try?
Add grated Parmesan cheese to the panko mixture for extra savory depth. Experiment with different herb blends like Cajun seasoning, Mexican spices, or Asian flavors using sesame seeds and ground ginger. For heat lovers, increase cayenne pepper or add a pinch of smoked chili powder.
- → How should I store leftovers?
Store cooled chicken strips in an airtight container in the refrigerator for up to 3 days. Reheat in a 180°C oven for 5-7 minutes to restore crispiness, rather than using a microwave which can soften the coating. You can also freeze breaded, cooked strips for up to 2 months.